Showing posts with label before. Show all posts

Tuesday, April 22, 2014

Our Yard {A Before Story}

This post has been sitting in my draft box for 3 years.  Yes, you read that correctly...3 years.  I think it's just really important to say that out loud.  We've been in our house a little over three years now and besides completely repainting the inside of the house the backyard has been the most drastic improvement.  We are on our third year of a five year plan, so I offer all of this to say...it takes time.  

And since everyone loves a tragic before story, here's ours...

When we bought the house the backyard was a disaster.  And I mean this in the sweetest way possible but the yard was a well loved play space for three kiddos under the age of five.  There were two swing sets and a play barn and a few places where I think pirates must have buried some treasure and forgot to cover the hole back up with grass.  Some of the giant, grassless holes were also a place where water liked to pool and stand.  A fact that definitely freaked our family (and our realtor to a less extent) out. These facts under normal circumstances or rather in a normal yard may not be too bad, but our yard is a typical suburban back yard--shallow and small.  

And then there was the fence...oh, the fence.   It was sagging into our neighbor's yards in no less than three places, there were 8 rotted posts because the builder didn't use fence grade posts, they used something cheaper that wasn't meant to have water and dirt sit against it.  The same goes for the pickets, they were rotting from the bottom where they hadn't already fallen off or the dogs hadn't poked a whole through at the bottom.  

Below are two of the "befores" we snapped the day we moved in.  See how the fence isn't straight?  That's not an optical illusion or bad camera work that's what a fence that your 10 lb dog could knock over onto the sweet little neighbor girls looks like.   


We had the play equipment removed as part of our purchasing contract but you can also see the pirate holes in the bed above and two of them in the yard in the photo below.  Serious fun was had in our yard.  


I'm not sure that you can get a real feel by these two pictures, but we had hedges running along the back side of the house in shallow beds and two medium sized Bradford pears, one in each corner (there is one in a mirror image spot from the one pictured above) to work with and of course the falling down fence.  

If you can remember we moved in when I was 9 months pregnant which meant that I wasn't really up for a family fence replacing party.  But these high north Texas winds, a small bitey dog and dogs and kids on all sides of us meant that the fence needed to be high on the priority list.  So the first, unglamorous order of backyard business was having a new fence put up.

I wish I could say that our first fence purchase was wonderful, but it wasn't...we still have a few issues with it currently and would never recommend our fence contractor (send me an e-mail if you live in the DFW area and want to know who NOT to use!).  But the new fence, none the less was a huge improvement over what came with the house.  We went with the cedar board on board with metal posts for privacy and durablity. And since our house was one of the first in the neighborhood to be built, we have since watched all our neighbors upgrade over the past few years--very fun!

Our first year here we mostly focused on the lawn--filling holes, fertilizing the grass, filling in dead spots, fixing sprinkler heads and observing water flow and sun.  We also spent time throwing out all the trash, debris and abandoned yard items and toys left behind by the previous owners and shaping some of the existing bushes across the back and I did a cheap pot makeover but mostly it was a learning year.  We wanted to watch the sun in it's various positions and learn so that we made wise choices.


In our second year we got rid of this odd little raft of a side deck that was wedged between the house and the fence.  We lovingly called it the "rabbit brothel" because it appeared to be a nice mating and nest building place for animals.  It was also causing some water issues we thought might one day affect the foundation of the house.


Another thing we did in year two, that you will see the full effect of in my next post is put solar screens across the back half of the house. Our first summer despite keeping the thermostat higher than we wanted the AC ran non-stop, our bill was high and we were never comfortable--not cool!  So we installed solar screens to help with energy efficiency in our Texas home.  Side note...the solar screen company claimed that you recover the cost of the screens over 18 months on your energy bill but since we had them done in March before the summer heat--we saw our full investment recovered in 4 months.  Also, our unit is not running nearly as often or as hard and it is waaaay more comfortable.  Anyhow, the unintended side effect of solar screens is that aesthetically it created a nice uniformity across the back of the house.  You can see in the above picture how the widows looked at the beginning.  

Monday, January 23, 2012

Creative Room Makeover {Before}

We started 2012 by tackling one of our house projects.  It's by far not our most difficult or daunting project, but we are really happy with how it turned out.  Plus, If we are ever going to get this house feeling like "ours" its going to be room by room one little project at a time.  

As I shared in my 12 in 12 post we have a home office just off our entry and formal living/dining that needs some help being pulled together.  Its actually a great sized room, has two closets and is the perfect space to turn into a space for playing music, crafting, reading and being creative.  

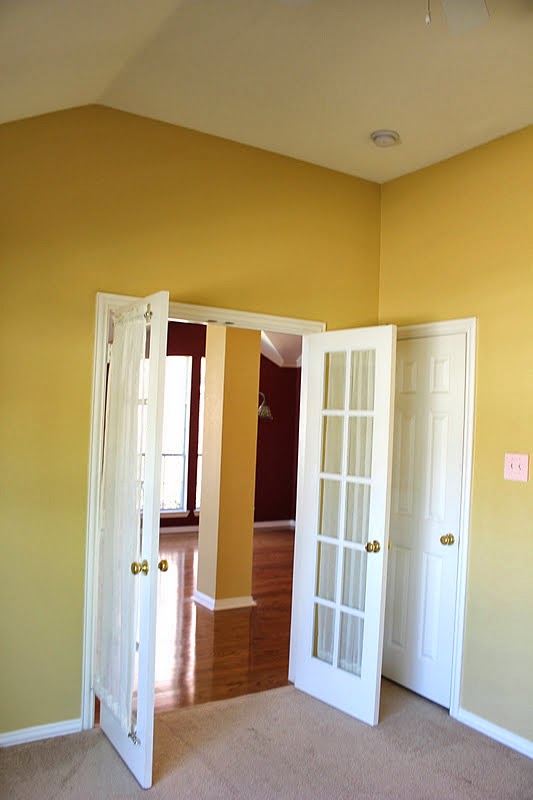
I snapped a few pictures the day we closed on the house to document the "before."  Again, you can see the yellow paint everywhere.  


The yellow paint extended into the creative room and made a room with vaulted ceilings, french doors and a big window seem much smaller and darker that it actually was.  


Since we've moved in we have had a desk and our books shelves in the room but it has mainly been the catch all where we have piled those last remaining boxes that didn't have a home yet.  


And I am horrible at true "before" pictures.  I guess its because when it comes to tackling a project I am SO sick of the before and SO ready for the after I dive in and forget to snap pictures.  But here is one before I snapped with the ol iPhone of the little miss helping with the demolition process.  


I am super excited to share how we transformed the room to meet our needs and create a beautiful space to read, write, play and create.  Stay tuned!

Wednesday, June 22, 2011

Planter Make Overs

As I mentioned a week or so ago, during morning nap time I have been dashing out to the backyard to tidy things up and work on a few projects.  One of the projects I have been working on is figuring out about the planter situation for our patio.  

Our patio pots look like hell.  There is no way around it.  They are faded and sad looking and to add insult to patio injury we were gifted some second hand planters from the previous owners as well that were equally sad and faded.  Since like most folks we live on a budget round here, new pots and planters just aren't in the budget this year, we have other things higher up on that house to-do list.  But I love planting and gardening and growing things too much.  I also like things to look neat and tidy and not, well, like hell.

So I decided to do a quick makeover of our existing planters until next summer (when it will actually be in the budget).  My idea was to gather up all the different style and colored planters both ours and gifted and spray them all a single color to tie them together and cover the fade and ugly and age. 


Here is a "sort of before" picture.  Why sort of?  Well I got so excited about this project I didn't take a proper "before" picture of the whole ugly collection.  When I realized this I snapped a quick pic of the bases I hadn't sprayed yet so you could see the fade, but this is most definitely not the worst of it!

Although the many color to choose from in the spray paint isle were tempting I decided to go with a white semi-gloss to keep things neat and simple.  My goal was to spray them all nice and evenly with a plastic primer and then the white, do the best I could with my two cans of spray and then hope the plants grew over any imperfections.  Quick, cheap and hopefully a little less ugly.  

Here they are after I sprayed them but before I planted.  To be honest at this point in the project I sort of thought they looks not as bad but close.  Well, maybe that's an overstatement but I was still skeptical of my own project.  


Then I filled each of them with sun friendly plants, following the rule of tall growing, mid-growth or mounding and vines.  


I think the purple and yellow sweet potato vines will hide any imperfection and I already think its a nice improvement.  And for the cost of two cans of spray paint ($3.95 each), I think its not too bad!


What projects are you hoping to tackle on the cheap this summer?  

Thursday, June 2, 2011

Mirror, Mirror

Remember my to do list last week?  My list included plans to re-do the mirror we bought at the McKinney, Texas Trade Days last month.  I already shared that I had plans to paint it Behr's Steam White.  I already had a quart of the Steam White that I purchased when we bought the paint for our master, as I have a plan to do a tone on tone mural. I want the mirror in the lighter, whiter tone because I thought it would go nicely hanging on the wall opposite the mural over our dresser.  

Here's what the mirror looked like before:


It had a sort of teal base with a white wash over it to create a shabby chic look.  But it didn't really work for our house because the white wasn't crisp, it was more yellowed.  You can see what I mean in the above picture.  

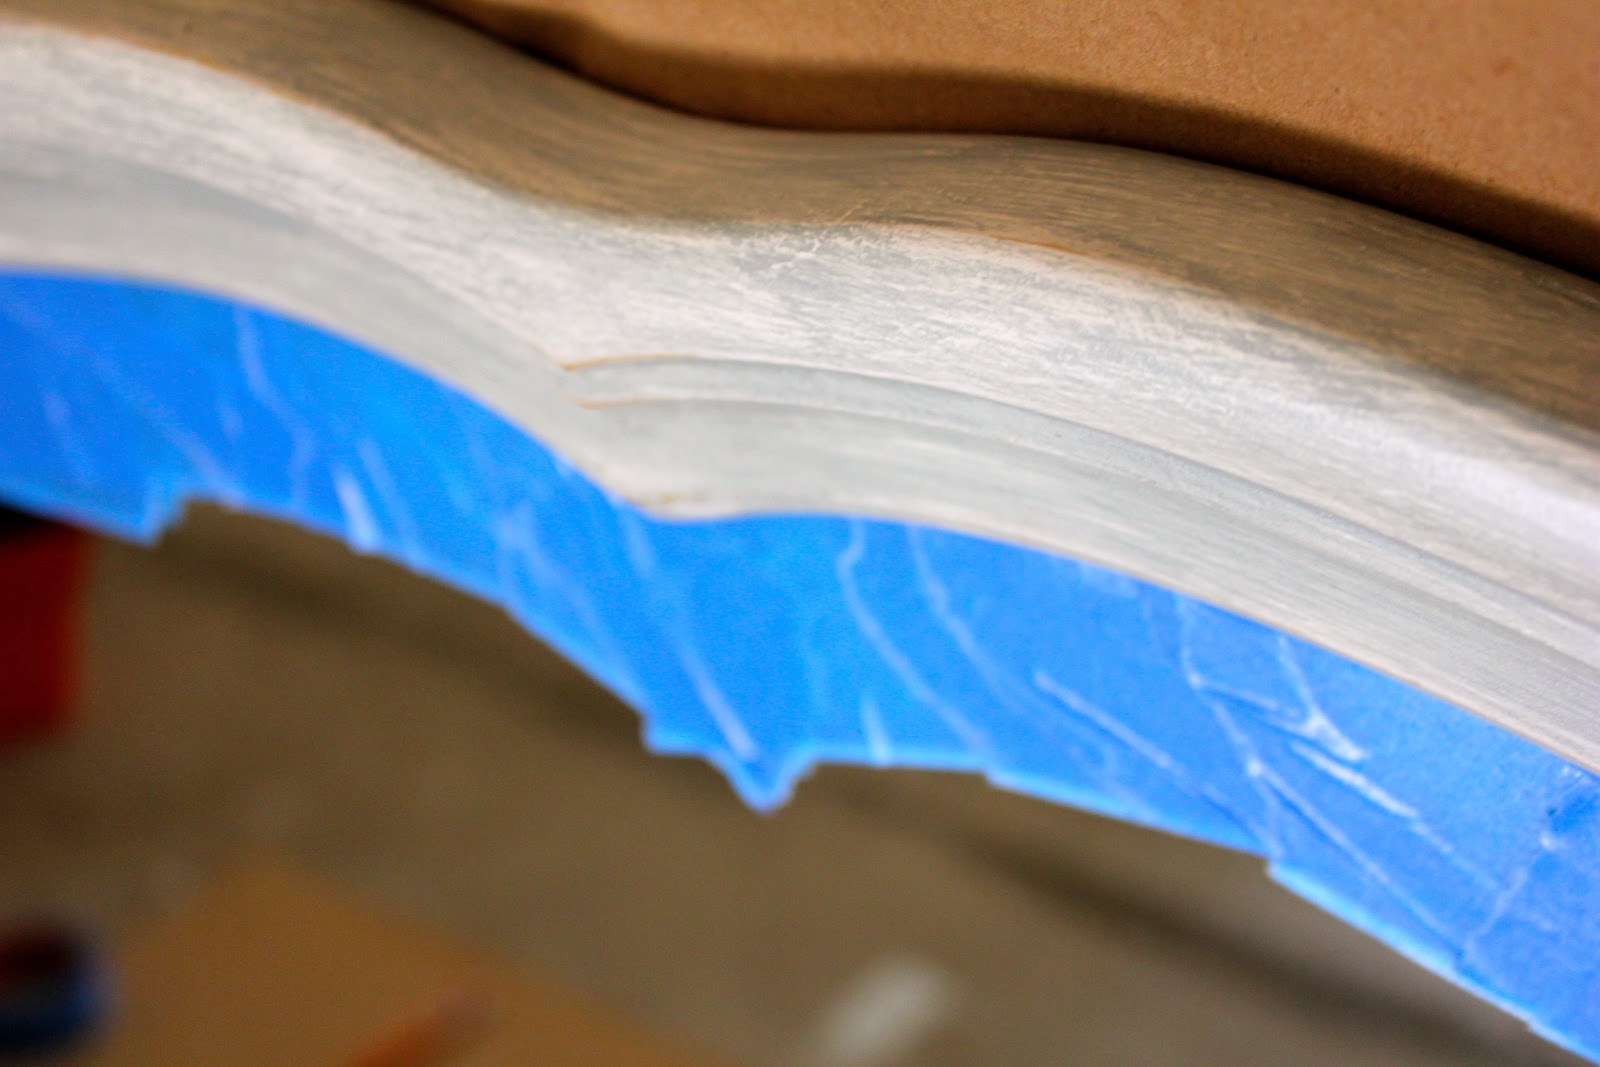
So I set up a little painting area in the garage and taped off the mirror.  This actually took longer and was much harder and took more time that I had thought because of the curves in the mirror.  As you can see I ended up using small pieces of tape overlapping.  


After I taped it off I painted the first coat on the top and sides (but not the bottom, as it would have stuck.  With each new coat I rotated the mirror and skipped painting the bottom edge.  Eventually everything got two coats.  If I had to do it over again I would have laid the mirror flat on something slightly smaller so that I could paint each coat all at once.  Ah well, you live you learn.  

After my final coat had dried, I pealed the tape off and then touched up the edges where the tape wasn't applied smoothly (oops!).  Once the touch ups were dried I took a paint scraper to the mirror to clean off any excess paint.  

After placing the hanging wire on the back (it already had mounting hardware on the back) I hung it above our dresser in our master bedroom.  And let me tell you this sucker is heavy (obviously, it is after all a giant piece of glass).  I nearly squashed myself under it trying to get it on the wall!  But after a few tries I got it up there and I am proud to say it is safely up there.  


Here the mirror is above our dresser in the master bedroom. It turned out to be the perfect size--large enough to hold its own on this large wall, but small enough to not overwhelm our short-for-a-long-six-drawer dresser.  


This was a great find and an easy (and cheap) way to add a little personality and depth to our room.  

Friday, May 27, 2011

Master Bathroom Quick Makeover, Before

It may seem sort of backwards to share about what we've done with the master bath before posting about the master bedroom, but the bathroom is mostly complete, where as the bedroom is still a work in progress and totally a baby explosion these days.  

So without further ado here is our bathroom "before." It was painted a dark chocolate brown like the master bedroom, but luckily unlike the master bedroom the ceilings were left white.  


Aside from being way too dark for our taste, there were a few other things that were driving me bonkers about this space.  Can you spot them?  


Well, I don't want to keep y'all in suspense...There were three different kinds of finishes going on in this one room--NOT including the towel bars and toilet paper holder (they each had their own separate finish).  Can you see the facets were a polished silver, the shower was the builder's standard gold and the lighting fixture above the sink was an oiled bronze.  


Now, I am not saying I am all matchy, matchy, but the three (or five) different finishes were going to drive me crazy.  Plus the finished especially the lighting fixture in its Texas chic style wasn't exactly our style.  And did I mention it was DARK in there?  There is a huge window (4x5) letting in great natural light but it still seemed dark.  Moving from a home built in 1923 to a home built in 2004 one of the major perks was enough bathroom space that T and I didn't crash into each other or have to take turns getting ready.  But with the chocolate brown the bathroom felt just as small and crowded as our old one.  

Want to see how we changed our humble little cave of a bathroom for under $100?

Thursday, May 13, 2010

Bathroom, Interupted

I realize by the title of this post that what I say could go any number of directions, but since this is a family blog, I am going to talk about our recent partial bathroom remodel. I call it recent, although it began in March. I call it partial, because it was one of those unexpected situation. You know, the ones that start like a little like this:

Me: Honey, come here.

Me: NO, honey, really come here I think somethings, wrong, there's water along the baseboard of our bedroom

Yeah...so the partial comes from the unexpected nature of the situation. It started with some tile in the shower that had bad grout and gained in force as we tore out the shower walls, and then since the contractor was already demo-ing the joint and it already looked like hell in there, we had him rip off the eye level high 1" square tiles from the 50s that the previous owner had just painted white that encompassed the rest of the room. But we weren't in the mood (and I mean by mood, the budget, time and patience) to rip our the tile on the floor, the sink, etc, to make it an all and our bathroom remodel.

But I do call it a remodel because we could see the inward parts of our house for several days, I had to make some on the fly decisions about more than three things and how they were going to tie into the overall asthetic of the house. So, yeah.


Here is our sweet house with her guts all showing. I wish I had before pictures, but the situation was so unexpected I forgot to hop in there and snap away. I guess if all you see are these, the afters will look that much better!


(our shower, post-demo, pre-tile. Is our house beautiful and sturdy on the inside?)
(this is a shot of the wall that had our mirror on it...When we took it down we discovered that there was a medicine cabinet there at some point...classy)