Thursday, June 30, 2011

Happy Anniversary!


Four years ago today T and I stood in front of our friends, family and God and made public the private commitment we had made to one another years before.  That we would journey through life together, tackle whatever challenges and obstacles came up together and help see one another's dreams into reality together.  We have moved six times, lived in three different states, traveled to some really cool places, acquired a degree and a dog, bought (and sold) our first home, made two career transitions, and welcomed our beautiful daughter into the world together. I am grateful for him as my partner, my friend, my love.  

Here's to many, many more years and many more adventures.  

(The picture is from Eischen's Chicken in Oklahoma our first year of marriage)

Tuesday, June 28, 2011

Tuesday Crafties

Happy Tuesday!  We are off to a slow start this week, since our weekend was so full of fun and celebration.  But I do have a little crafty bit to share with you.  Little miss got a new little romper this weekend as a gift and I decided that it needed a matching head band.  So even though you have seen me do head bands for the wee babe before here is another one.

I think this one is way better than my previous attempt because this time I thought about the placement of the leaves in relationship to the elastic and her head.  I sort of forgot that last time and they stuck up like little feathers on an Indian head dress.  

I made this one with felt and tried a bit different style.  Here it is on our little model:


I know, I know, its huge on her head, but its so stinking cute!  

Thursday, June 23, 2011

Lunch Lately

I suppose this lunch is barely worth mentioning since its so simple.  But I figure its good to be honest.  I really dig breakfast foods for lunch or anytime.  And this has got protein, grains, and tons of fresh raw fruit so it gives good fuel and is easy to pull together at a moments notice.


What are your too simple to mention but complete healthy meal staples?  

Wednesday, June 22, 2011

Planter Make Overs

As I mentioned a week or so ago, during morning nap time I have been dashing out to the backyard to tidy things up and work on a few projects.  One of the projects I have been working on is figuring out about the planter situation for our patio.  

Our patio pots look like hell.  There is no way around it.  They are faded and sad looking and to add insult to patio injury we were gifted some second hand planters from the previous owners as well that were equally sad and faded.  Since like most folks we live on a budget round here, new pots and planters just aren't in the budget this year, we have other things higher up on that house to-do list.  But I love planting and gardening and growing things too much.  I also like things to look neat and tidy and not, well, like hell.

So I decided to do a quick makeover of our existing planters until next summer (when it will actually be in the budget).  My idea was to gather up all the different style and colored planters both ours and gifted and spray them all a single color to tie them together and cover the fade and ugly and age. 


Here is a "sort of before" picture.  Why sort of?  Well I got so excited about this project I didn't take a proper "before" picture of the whole ugly collection.  When I realized this I snapped a quick pic of the bases I hadn't sprayed yet so you could see the fade, but this is most definitely not the worst of it!

Although the many color to choose from in the spray paint isle were tempting I decided to go with a white semi-gloss to keep things neat and simple.  My goal was to spray them all nice and evenly with a plastic primer and then the white, do the best I could with my two cans of spray and then hope the plants grew over any imperfections.  Quick, cheap and hopefully a little less ugly.  

Here they are after I sprayed them but before I planted.  To be honest at this point in the project I sort of thought they looks not as bad but close.  Well, maybe that's an overstatement but I was still skeptical of my own project.  


Then I filled each of them with sun friendly plants, following the rule of tall growing, mid-growth or mounding and vines.  


I think the purple and yellow sweet potato vines will hide any imperfection and I already think its a nice improvement.  And for the cost of two cans of spray paint ($3.95 each), I think its not too bad!


What projects are you hoping to tackle on the cheap this summer?  

Monday, June 20, 2011

Over the Weekend

Good morning!  It's Monday and I don't know about you but I am ready to tackle this week and knock several things off the ol' to-do list!  I also think I am energized for the week because our weekend was so fun.  

Friday I got the weekend off to an early start with my friend Jane who was in town for the weekend.  She bravely agreed to load up the little miss and go to Ikea and to lunch.  It was so fun and aside from the little miss hooting her way through the home decor section we did pretty awesome on our little trip.  I got some long, black picture ledges I was going to use for the office, but they are too long so I think I might give them a try in the eat in kitchen area.  I also got a cute little vase.  On Friday night T and little miss and I hung out with family and ordered pizza and watched the US Open (we are a family full of golf nerds!) and tried to avoid the heat (can you tell that's a theme here these days?!).

Early Saturday, before the heat got too unbearable, I left T and the little miss alone to have some daddy-daughter time while Jane and I met back up to go to Trade Days in McKinney, TX.  Jane was on the hunt for a big metal star for her back porch and I was on the hunt for some vintage glass pieces to plant a few plants in an put around the house and a funnel cake.  I ended up finding a glass bowl with three cute little legs, a metal hook for the closet to hang purses on and the coolest drawer pulls (and no funnel cake).  


I also got this cute succulent to plant in my bowl for $2 at the flea market--way cheaper than you can find them at the lawn and garden store.  And way healthier looking.  In fact I wish I had gotten a few more.  Ah well, there is always next month!


I don't exactly know what I am going to do with these pulls yet, but they had so much personality for $1 I couldn't pass them up.  

The rest of Saturday, T, little miss and I spend blissfully vegging out and enjoying each other's company with nowhere to be.  

Sunday was T's first Father's Day.  Little miss and I woke up and tried to let T sleep in, but he wanted to get up and hang with us.  So I made coffee and breakfast for him while Adelaide entertained him with her cuteness.  At breakfast we had him open his gift and cards from us.    


This picture is from earlier in the week--Adelaide and T watch the Texas Ranger games together.  I even got her a little headband to wear that matches her onesie that she can wear to the park to see games next season.  

In the afternoon we trekked over to Fort Worth to be a part of the ordination service for our friend Jackie.  The service was beautiful and little miss was an absolute doll for the whole hour and a half ordeal.  


Afterwards we grabbed some Mexican food with our friends that were in attendance at the service before heading home.  It was so good to get caught up and for little miss to meet some of the people that are so important to us.  Here she is with our friend Ryan.  She wore her tutu for the occasion, because nothing says "I celebrate this special day with you" like a tutu.  


It was a great weekend with the perfect balance of fun and adventure and relaxation.  How was your weekend?

Friday, June 17, 2011

Our Sleeping Beauty

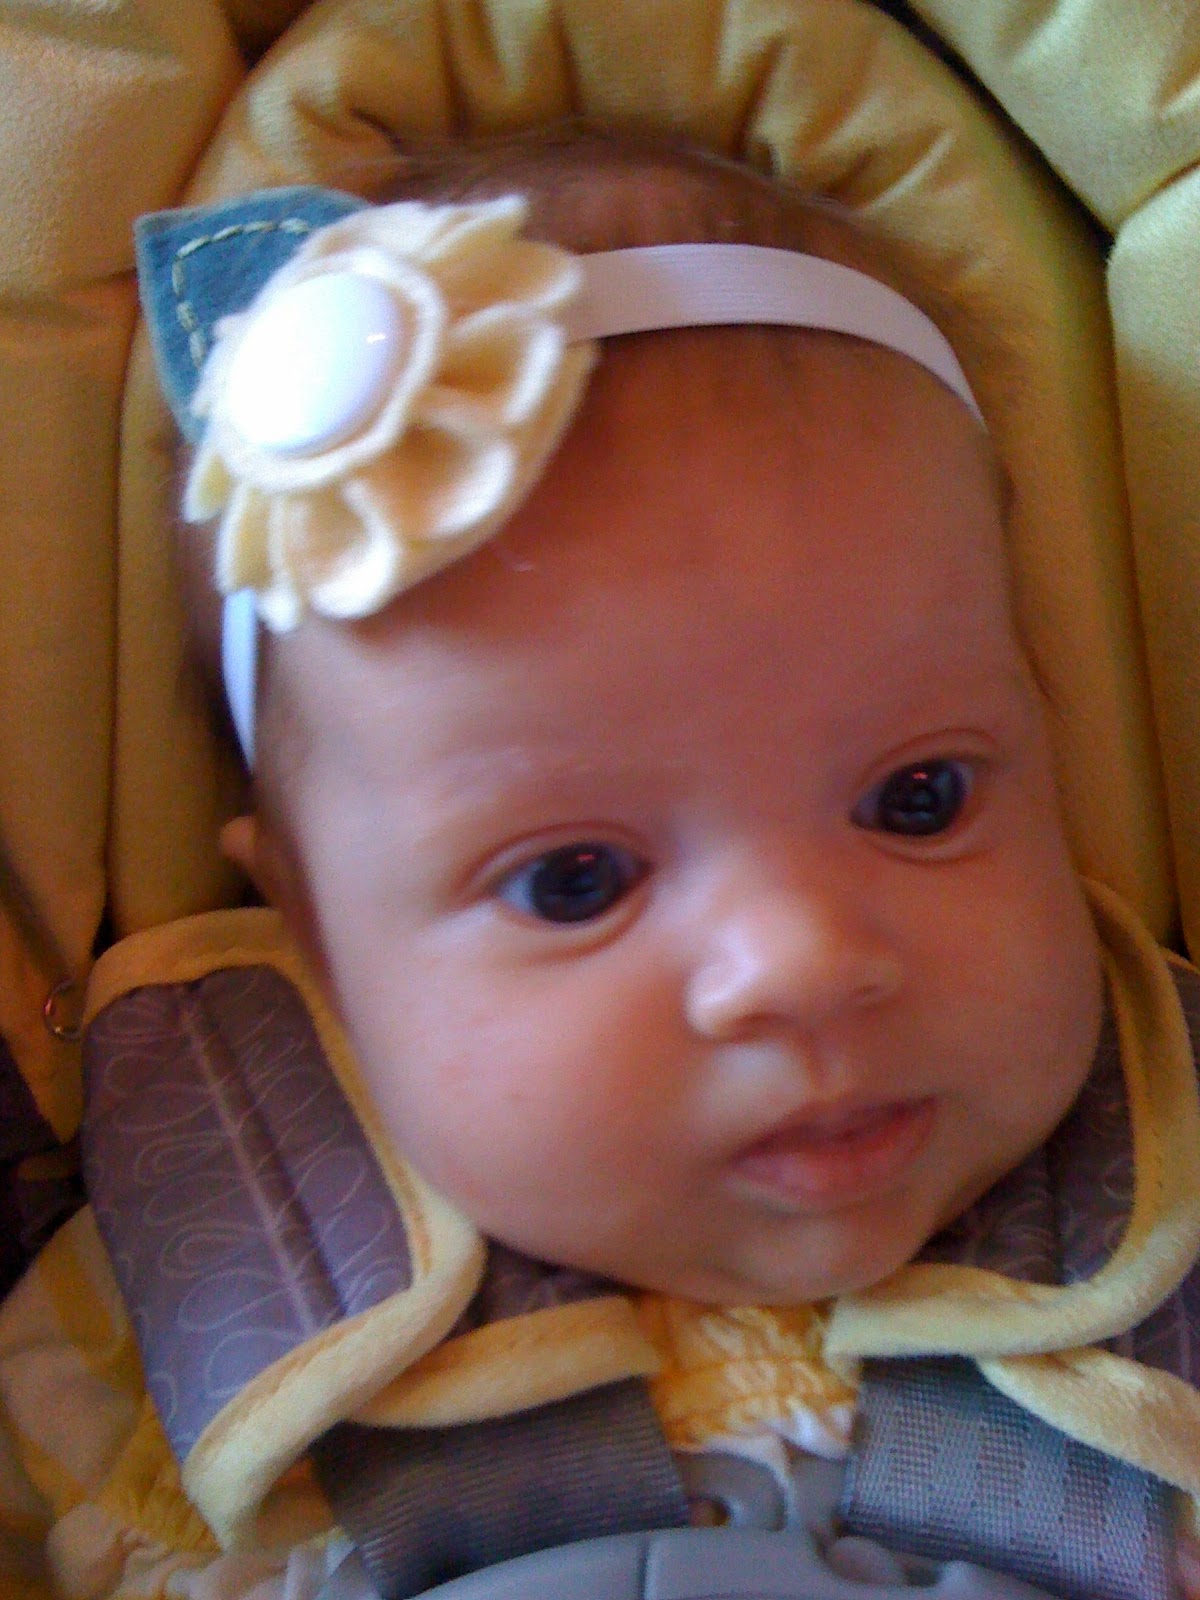
I have fielded a couple of requests to write about what we are doing to sleep train the little miss so early, since she can already sleep 8 hours at a time through the night.  I have to confess right off the bat that we are no experts but that this is what is working for our baby and our family.   This will be a lengthy post, so if you are not interested in sleep training your baby or in sleep theory meets practice, here is a cute picture of the babe partying in her bed and I will send you on your way for the day:


Resources and Stuff
Like I already said, I am by no means an expert.  We have used a combination of sources and adapted them to who we are as a family, what we are comfortable with as parents and to our daughter's specific needs and personality.  We know what her likes and preferences are and we know what her natural rhthym is and we use those things to our advantage, but every baby is different.  What's important is to figure out what those things are for your baby and incorporate them into your strategy to get those extra winks.  I will share more specifics later.

The three resources that have influenced our sleep training in these early months the most are Healthy Sleep Habits, Happy Child* (it was given as a shower gift and was recommended by the pediatrician), our pediatrician, my mother and this blog post by Nicole over on Making it Lovely.**

The Beginning
I have to be honest, before Adelaide came along I hadn't really given much thought to the whole sleep thing.  We are both good sleepers and so I assumed two things, that when she was tired she would sleep and that she would fall into a natural schedule (I also assumed that I wouldn't get any decent sleep for months, maybe even years).  While both of these are sort of true, they are also not true at all.  It was probably around two weeks old that we started thinking about how to be intentional about teaching our child how to sleep and getting her into a routine.

We developed a bed time and a routine at around three weeks, maybe a little before.  For those of you that have had a newborn, that may seem like a joke, but we wanted to begin to give her little brain the signals that say "Its time to wind down and sleep."  We had bath time at a set time every night, then we took her to her sleeping area, nursed her and worked on getting her to sleep.  Now, this is where it gets tough.  Some nights we would work 2-3 hours to get her to sleep because she was fussy, but instead of thinking our plan wasn't working we powered through.  During this period we would either wake her or get up when she woke about every 3 hours to feed.  Like some of our resources suggest, we kept the lights low or off and were "all business" meaning no playing, singing etc. (I might have had a quiet whispered conversation with her about the middle of the night surprise in her diaper a few times) and we stayed in the sleeping area (our room in the early weeks and now her room).  We wanted to communicate that night time was about sleeping so low lights and quiet voices sort of set the tone.  She started going to sleep quicker and sleeping a little bit longer so that by her one month check up she was hitting 4-5 hour stents from time to time, which our pediatrician shared is what she is capable of at that age.

Six Week Growth Spurt and Colic
At around six weeks our little miss had a growth spurt and for you expectant moms this is also the peak time for colic.  For 10 days straight she didn't sleep more than 3 hours a night.  I thought I was going to go crazy, but luckily had a good support system, family and friends that would come over during the day to hang with her while I caught a nap.  During this time we still stuck to our schedule, keeping her in a routine.  On night 11 guess who went to bed after her bath and slept 13 hours only getting up twice to feed?  We set the tone for our nights so that when her little body was ready it would click.  That is more or less how our nights went for two or three weeks.

I guess it would also be helpful at this point to share a few things about expectations.  Adelaide is a baby.  She is unpredictable, her neurological system is developing and she is still learning about our family and most importantly she is figure out things about herself.  Our job is to help her develop over time the self-soothing and sleeping skills that she needs for healthy growth and brain function.  Thus we have worked towards a future goal even when it shows no sign of working.  We also know our daughter and know her needs and quirks.  For example, we know that at least 1-2 nights a week she is going to be gassy and fussy most of the night, waking every two or three hours.  We work as a team to get through those nights and keep in perspective that the other 5 nights a week she is sleeping how she should for her age and sometimes even better.  We stick to our plan because even though the two nights a week where she is fussy suck, the other 5 nights are pretty much bliss.  But be patient, Rome wasn't built in a day and a baby isn't going to pick up on your new strategy or routine for a while until it becomes exactly that, a routine. If I am honest anything new we add or try take 1-2 weeks to really see any result.

Ok, I feel like this post is getting way too preachy so let's take a break and check out how cute that little babe is dancing in her crib:


Would you check out that side kick?  Anyhow...

Two Month Shift
The week or so leading up to our two month check up we introduced another strategy to help little miss get better sleep.  Instead of plucking her up out of bed every time she woke or peeped, we left her in her bed and would go to her, check to make sure she was ok and then we would sooth her back to sleep.  Soothing is baby specific, so do what you know works for your baby--swaddling, rubbing their head or tummy, offering them a pacifier, you are the parent and you will know what works and what doesn't. Oh and keep in mind what works could change from week to week or even night to night.

The idea behind leaving her in her crib was two fold--one, the jostling around your baby makes it harder for them to sleep. Imagine trying to get to sleep and having someone pick you up and move you around, it would make it hard.  The second reason for this is that at this age the baby is getting so much more social and may prefer to socialize with you in the middle of the night instead of sleep.  And trust me there is tons of fun to be had and socializing to be done during the day after everyone has gotten sleep.  Of course, if little miss couldn't work herself back to sleep by lying in her crib with us trying to console her we got her up and rocked her.  This was a gradual process and even now we have nights where her fussiness requires rocking or other out of crib soothing.

At our two month check up our pediatrician, who God bless her is a big proponent of "when the whole family gets sleep the baby is happier and healthier (and so are the mom and dad)", shared that developmentally babies at this age should on average be able to sleep 6-8 hours a night without waking.  You better believe that with the promise of 8 hours of uninterrupted sleep she had my attention.

Building on our existing routine and per our doctor's recommendation we now have started laying little miss in her bed not all the way asleep and sometimes awake, so that she can begin to practice falling asleep on her own.  The idea is that then when she wakes up in the night she can get herself back to sleep and not require us to get up every. single. time. over. and over. again.

No Cry Babies
While some sleep training and sleep theorist say that it is perfectly fine to let a baby "cry it out" at this age, we are not using this method.  Our pediatrician does not believe that its an appropriate strategy for babies this age (2-4 months) for cognitive and social reasons.  And we were not comfortable with it as parents.  So what do we do instead?  We let her "fuss it out."

This is again one of those things that falls into the "you are the parent and you know your baby best" category.  By observing little miss during her morning naps and at night we have learned the intricacies of her little noises.  Her "I am trying to get to sleep" fussy noise is very different from her "I am in distress" cry. I always thought the baby books were a little optimistic when they talked about learning "cues" from your baby, but it happens and it should be used to one's advantage in the epic quest for more sleep as a new parent.

So, once we put her down or if she wakes in the middle of the night if she wakes up or starts making noises we check on her first to make sure she is ok (quietly, ok, stealthily).  Then we let her work it out.  If she sounds like she is about to cry we go in and console her either in her crib (first strategy) or by rocking her (next strategy).    We give her the opportunity to practice her own skills at falling asleep first but always console and help her get to sleep if needed.

Since we have started this phase our little miss has not only woken up and gotten back to sleep with ease a handful of times, she has also started sleeping in longer chunks of time.  Most notably she sleeps 8 hours straight one night a week or more.  But it is a process for sure.

Naps, Naps, Naps
One of the first things our pediatrician asked when we shared she was sleeping better was, "have you noticed that naps are easier too and when naps go easier bed time is easier?" Heck yes.

The theory (if you aren't familiar) is that when your baby is over tired it is harder for them to wind down their little brains and calm themselves into sleep, especially the more social they become.  So sleep becomes a cycle, crappy night sleep leads to crappy naps which lead back to crappy night sleep.  And I would have to say in our experience that's totally true.  So a commitment to good night sleep means having some game plan for naps as well.  Now each baby is different especially on this topic.  I know that some babies at this age can take three naps a day.  We get two solid naps and a cat nap in each day, but sometimes the wheels fall off the bus and we don't.  I am not suggesting being a slave to the baby's sleep schedule.  Let me tell you, when you realize that there is only one roll of toilet paper in the whole house you go to Target, nap time or not (and grab an extra case of diapers just in case).  But it helps to have some structure and some naps.

Disclaimer or Reality Check
Like I said earlier in the post, we are laying ground work for a long term goal and have realistic expectation of the little miss.  We also know she is a baby so things to go totally smooth every night.  A gas bubble stuck somewhere between a burp and a fart can ruin the whole family's night.  We can have a gas bubble one night a week or three.  Growth spurts can throw a wrench in the whole sleep thing (although if it does the it is sure to follow some blissful sleep eventually--little bits can't keep up the insomnia forever!).  Realistically this strategy has earned us on average 4-5 nights of good sleep for the whole family a week.  Which isn't perfect, but its better than no nights of good sleep for many more months to come.  And the longer we stay after it, the more good nights we seem to get and the bad nights don't seem as bad because you have gotten some rest and you know eventually that week you will get some more.  I said "not as bad"--they still suck :)

So that's what we have been doing that works.  I am sure it is TMI for most of y'all (you probably left after the cute baby pic and aren't even reading this) but I would be curious to know what is working for the other moms out there?  


*If you have read this book you will recognize some of the stuff I have said and we are trying. There are some things about it that are helpful, especially the argument for why everyone needs good sleep.  However if I got the chance to chat with the authors we would have some disagreements, mainly on the value of a good editor.

**If you are breastfeeding there are some nuances to all of this that you may want to have the support of a lactation consultant for.  Our local hospital has several lactation consultants on staff that are awesome at  fielding my calls and answering my questions and being of general support and awesomeness.  Also, message me and we can chat about it, but this post was getting waaay too lengthy already.  

Thursday, June 16, 2011

Nursery Art Work Update

Since we are already on a nursery kick this week I thought I would share a little update.  When I did the nursery reveal I shared that my plan for little miss's two art walls over her bed and dresser was to slowly add art and pictures, taking the art upward since the room has some height to it.

Well I already added a few things to the wall over her dresser and changing area.  Remember it looked like this before:


Well two weeks ago Nicole at Making it Lovely posted a free download of a print for her daughter's nursery and it seem just perfect to add to our little collection. Plus it was right in my price range--FREE!  If you are interested in adding this cute print to your collection you can find it here

So I printed it off, went to Target and got a frame and finally framed our family's first holiday portrait together in another frame I already had around.  Then I sort of played around with the layout and this is what I came up with:


Cute, huh?  And for those of you that like the straight on view to get a sense of lay out:


I really like the new lay out and I think it holds the wall better with a few more items and a little more height added.  

Wednesday, June 15, 2011

DIY Nursery Mobile How-To

For this week's Tuesday Crafties I shared the mobile I made for the little miss's room.  Now I thought I would share how I made it so you could make your own!

To make your own you'll need:
the inside hoop of a needle point hoop
half a skien of yarn
various colors of felt 
embroidery thread 
craft glue (I like FabriTac)
a sharp pair of scissors 
and stuffing (not pictured)


To start I took the hoop and placed a thin dot of glue on the inside lip to tack my yarn down.  Then I wrapped the entire hoop in the purple yarn I had chosen.  When you have made it all the way around, secure the finishing end with another dot of glue and let dry.  To keep from holding the loose end down while it dries I used a small plastic clothes pin to hold it securely until it was done. 


Next, while the glue is drying cut your mobile shapes out of the colored felt.  I chose birds and free handed the first one and then used it as the template for the rest.  You could easily do circles or flowers or another kind of animal for yours.  Cut out two identical shapes for each color. 


Here are my bird bodies and wings above.  After you cut out your shapes, choose your thread.  At first I thought about doing contrasting colors for the stitching but then decided to go tone on tone. I also chose dark brown and dark blue thread to do the eyes.  First I used a double French knot stitch to make the eyes on each body.  Next I glued the beak on to the inside sides of one of the bodies.  Then I stitched up the body, making sure that I stuffed the stuffing in before finally closing it up.  After that I put a little stitch around the wings and glued them on as well.  This step takes the longest because of the all the hand stitching, even though I consider myself pretty quick.  To save time you could sew them on a machine, I just like the folksy sort of look of the hand stitching and thought it contributed to the overall look I was trying to accomplish.  


I tried to do them in as many colors and I could and to try to balance light and dark, bright and muted colors.  I think they turned out so cute!


I set the cute birds aside and returned to my yarn hoop to create the hanging apparatus.  To make the hanging part I took the same yarn I used to wrap the hoop and measured out nine pieces of yarn roughly five yards long each.  (I chose a really long length because we have high ceilings and I wanted a little extra to drape when I hung it)  I divided the yarn into groups of three, and folded them in half, so I had six strings.  I then tied them to the hoop 1/3 of the way around.


With each set of six strings I divided them into threes and braided the yarn about 12 inches.  I did this for each set. I used a chip clip to hold the braid and keep it from unraveling while I braided the next. When I had them all braided, I gathered them together and held the whole thing up so I could make sure the hoop was level.  Once I had it level I tied all the yarn into one big knot.  


Then I took the large group of yarn and redivided it into thirds and braided the rest of the two and a half yards or so.  When I only had about 9 inches of yarn left I tied the whole thing off and trimmed the yarn evenly to create a tassel at the end.  

To affix the birds to the mobile frame I first strategized to stagger the birds so that they would alternate light and dark, bright and muted and not place two that were similar in color too close to each other.  I also sewed together ten birds so i decided to hang two sets of three and two sets of two to create a staggered look as well.  I then took a quilting needle (read needle with an eye large enough to get yarn through) and used it to thread the yarn through the center of the birds.  I tied the yarn off under the last bird and then tied the top of the strand of birds to the hoop.  

Ta-da! Here is the final project.  


Pretty cute huh?  I thought about adding a few strands of tinier birds through out but for now this is perfect!  And the nice thing about it is it's soft so in the night if bump my head on it it doesn't hurt and it also doesn't set off a bunch of noise and lights like some mobiles! 


If you try this project I would love to see how you adapt it and make it your own!  If you don't want to give it a try but want one, shoot me a message and I can make you one.


Tuesday, June 14, 2011

Tuesday Crafties

You may have noticed that the little miss didn't have a mobile in her room when I did the nursery reveal.  I had a few on Etsy that I liked, but wanted to add to the very personal touches in the room.  While I was home a few weeks ago I had the chance to look through our family albums and was reminded of all the special things my mom made for us and for our house to give it a special and loved touch. So I decided to make a mobile myself using stuff I already had in my craft closet.  

Here is the final result:


I tried to play of the birds in her linens but make it something all its own.  And I really like how it turned out. 


Want to learn how to make your own either for your nursery or as a baby gift for a friend?  Come back tomorrow for a step by step how-to!

Monday, June 13, 2011

Over the Weekend

Our weekend was for the most part nice and relaxing.  How was yours?

On Friday we went out on a family date to Fuzzy's Tacos.  I love their shrimp salad with house dressing and we both love their queso.  Yum!  Little miss made the perfect third wheel to our date smiling at us and looking around the whole time.  


Saturday we hung by the pool and cooked out (that seems to be what we do every weekend!) and watched the Rangers play.  Sunday we just hung around the house and rested and of course caught the Mavs game.

This week I have some really exciting stuff to share.  My Tuesday Crafties this week will come with a tutorial (yea!).  I have made a few updates to the nursery I will share with y'all and by request I have finally written a post about how we have sleep trained out sweet little miss.  And maybe there will be a few more things I share.  Who knows!

Friday, June 10, 2011

Happy Friday!


Hello all, are you looking forward to the weekend?  We sure are!  We have been busy this week getting it done and for the first time in a while we don't have any out of town family visiting and don't have any social commitments.  While it may sound boring to some, with a new baby and constant demands to visit us the little miss it will be blissful to just hang as a family, do some things around the house and relax.  

Here are somethings from around the internet that caught my eye this week:

Like we need anymore books or bookshelves in our house but isn't this the prettiest idea?

I was glad to see a tutorial for sewing curtains for the novices like me out there.  If only I could settle on paint colors and find the right fabric...  

I know all little kids say hilarious stuff but my friend Judy's grandson is hilarious.  I laughed so hard when I read this I almost woke the baby.

I know its kind of overplayed in the design world especially for nurseries but I am thinking of putting together some garland or bunting for the little miss's room especially after I saw this on Apartment Therapy.

I don't know if you saw this original post by Kelsey and Eric about marriage but the follow up post was almost as good.  

Hope you all had a great week!  Have any fun plans for over the weekend?

P.S. We are soooo rocking the tummy time right now.  And we are adorable doing it!  And doesn't little miss's hair look blonde in that light?  I swear it's not. It's brown but that lighting caught all of her cute little hairs and made them glow! 

Thursday, June 9, 2011

Not So Fast


Two things people say to me as a new mom that make me want to cry and/or punch the unsuspecting commenter.  "They grow up so fast" and "I hardly remember my child being that small." I know that sounds pretty harsh doesn't it?  But seriously, I have loved every moment of these first few weeks and months and there are so many details about Adelaide and our family that I don't want to forget, especially how small she is.  So I am spending some time this week instead of blogging making sure I have written down as much as I can for my own memory but so that I have these memories and stories to pass down to her.

I have a few things scheduled to post so I don't think you will miss me and I will be back with some fun stuff next week but for now, I think it will leave you to smell in more of that intoxicating baby smell and memorize all those fingers and toes.  

Wednesday, June 8, 2011

Beating the Heat

This week has been full of ups and downs.  It is still hotter than the blazes here so we are dodging the heat and laying low for the most part.  And I might be sneaking out to do a little gardening and yard work during the little miss's early morning nap...hey even if we only enjoy the outdoors from the comfort of the inside of our house, it should look nice when we peak out the window to check if its still summer right?


Here's a little sneak peak, although I am excited to do a little more detailed post on the progress and distance we still have to go with our back yard.  Hopefully next week, but no promises!


What are you doing to enjoy the outdoors this summer and/or beat the heat?

Tuesday, June 7, 2011

Tuesday Crafties

On Saturday we woke up and got ready for our little mini-adventure over to Grapevine.  Little miss had on a cute little yellow dress and so while we were waiting on T to finish getting ready, she and I popped into the studio and pulled together a little felt flower headband.

I already had made the flower and leaf, so plucked them out of my stash, took the little miss' latest head measurements from the doctors, added a 1/4 inch and cut a piece of elastic, glue it all together and ta-da!  A cute matching headband.  And of course you want to see it on our little model and all I got was a lousy iPhone photo!  But here she is in all her cuteness!


Monday, June 6, 2011

Over the Weekend

Happy Monday!  I hope your week is off to a good start. Mine is I have a nice little week planned with the little miss with plenty of naps (for her) and some projects (for me).  

This weekend was pretty laid back.  It has gotten hot here and these three little Indiana transplants are still working to get re-acclimated to the Texas heat.  So we did a lot of this all weekend:


Friday a dear friend was in town for a surprise visit and he got to meet Adelaide and we all got the chance to grab a beer and catch up on he and his cute little family.  On Saturday we did take a mini-trip over to historic downtown Grapevine, TX to grab lunch with some family.  Of course, yours truly didn't snag any photos but that's ok.

Sunday was filled with more relaxing and a few errands.  We are keeping our adventures pretty low key around here these days while we do a little sleep training and while we try to dodge the heat.  

How was your weekend?  

Thursday, June 2, 2011

Mirror, Mirror

Remember my to do list last week?  My list included plans to re-do the mirror we bought at the McKinney, Texas Trade Days last month.  I already shared that I had plans to paint it Behr's Steam White.  I already had a quart of the Steam White that I purchased when we bought the paint for our master, as I have a plan to do a tone on tone mural. I want the mirror in the lighter, whiter tone because I thought it would go nicely hanging on the wall opposite the mural over our dresser.  

Here's what the mirror looked like before:


It had a sort of teal base with a white wash over it to create a shabby chic look.  But it didn't really work for our house because the white wasn't crisp, it was more yellowed.  You can see what I mean in the above picture.  

So I set up a little painting area in the garage and taped off the mirror.  This actually took longer and was much harder and took more time that I had thought because of the curves in the mirror.  As you can see I ended up using small pieces of tape overlapping.  


After I taped it off I painted the first coat on the top and sides (but not the bottom, as it would have stuck.  With each new coat I rotated the mirror and skipped painting the bottom edge.  Eventually everything got two coats.  If I had to do it over again I would have laid the mirror flat on something slightly smaller so that I could paint each coat all at once.  Ah well, you live you learn.  

After my final coat had dried, I pealed the tape off and then touched up the edges where the tape wasn't applied smoothly (oops!).  Once the touch ups were dried I took a paint scraper to the mirror to clean off any excess paint.  

After placing the hanging wire on the back (it already had mounting hardware on the back) I hung it above our dresser in our master bedroom.  And let me tell you this sucker is heavy (obviously, it is after all a giant piece of glass).  I nearly squashed myself under it trying to get it on the wall!  But after a few tries I got it up there and I am proud to say it is safely up there.  


Here the mirror is above our dresser in the master bedroom. It turned out to be the perfect size--large enough to hold its own on this large wall, but small enough to not overwhelm our short-for-a-long-six-drawer dresser.  


This was a great find and an easy (and cheap) way to add a little personality and depth to our room.